How to Use Litematica: Install, Load a Schematic, Build Layer by Layer (26.3)
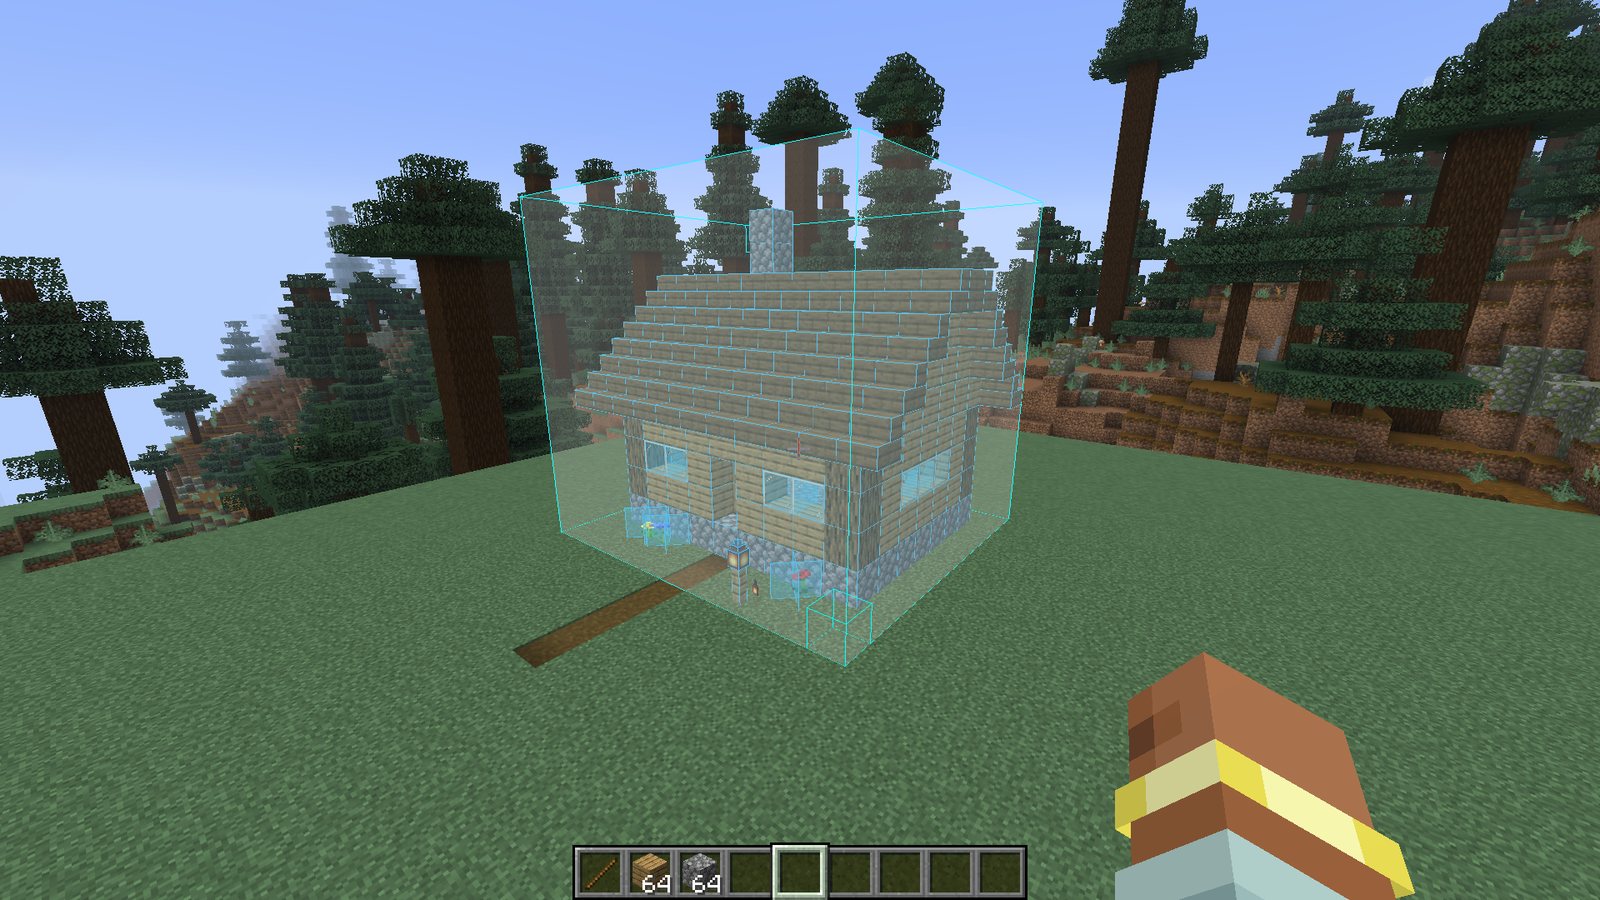
Litematica shows a build as a see-through hologram in your world, so you can copy it block by block. It also counts every block you need and can show the build one layer at a time. This guide covers the whole path: installing the mod, placing your first schematic, building layer by layer, the material list, saving your own build and Easy Place.
Everything here was tested with Litematica 0.29.1 and MaLiLib 0.30.2 on Minecraft Java 26.3. The screenshots are from the game in English, so the button names match what you see.
What to download
Litematica is a Java Edition mod for the Fabric loader. There is no Litematica for Bedrock (phones and consoles).
You need three things:
- Fabric Loader for your game version. Install it with the official Fabric installer or straight from your launcher (Prism, Modrinth App, CurseForge).
- MaLiLib, the library Litematica cannot start without.
- Litematica itself.
Litematica does not need Fabric API. Get both mods from Modrinth or CurseForge, and pick the files made for your exact game version.
| Minecraft | Litematica | MaLiLib |
|---|---|---|
| 26.3 | 0.29.1 | 0.30.2 |
| 26.2 | 0.28.8 | 0.29.6 |
| 26.1, 26.1.1, 26.1.2 | 0.27.14 | 0.28.12 |
Put both .jar files into your mods folder. If the game crashes on start, the cause is almost always a version mismatch: a MaLiLib built for another Minecraft version, or Litematica without MaLiLib.
Where to put schematic files
Schematics go into the schematics folder next to mods. That is usually .minecraft/schematics; in Prism and other launchers it is inside your instance folder. If the folder is missing, create it, or open the Litematica menu once.
Litematica reads these formats:
.litematic, the mod's own format;.schem, used by WorldEdit and most schematic sites;.nbt, structure block files;.schematic, the old MCEdit format.
You can find free builds with a material list and a layer-by-layer 3D viewer in our catalogue at schem.beezzland.com. The site is in Russian, but the files open in Litematica as they are.
How to load a schematic and place the hologram
- Stand where the build should go and press M. The Litematica main menu opens.
- Click Load Schematics.
- Pick your file in the list. On the right you see its size and block count. Leave Create a placement ticked; it is on by default.
- Click Load Schematic at the bottom.
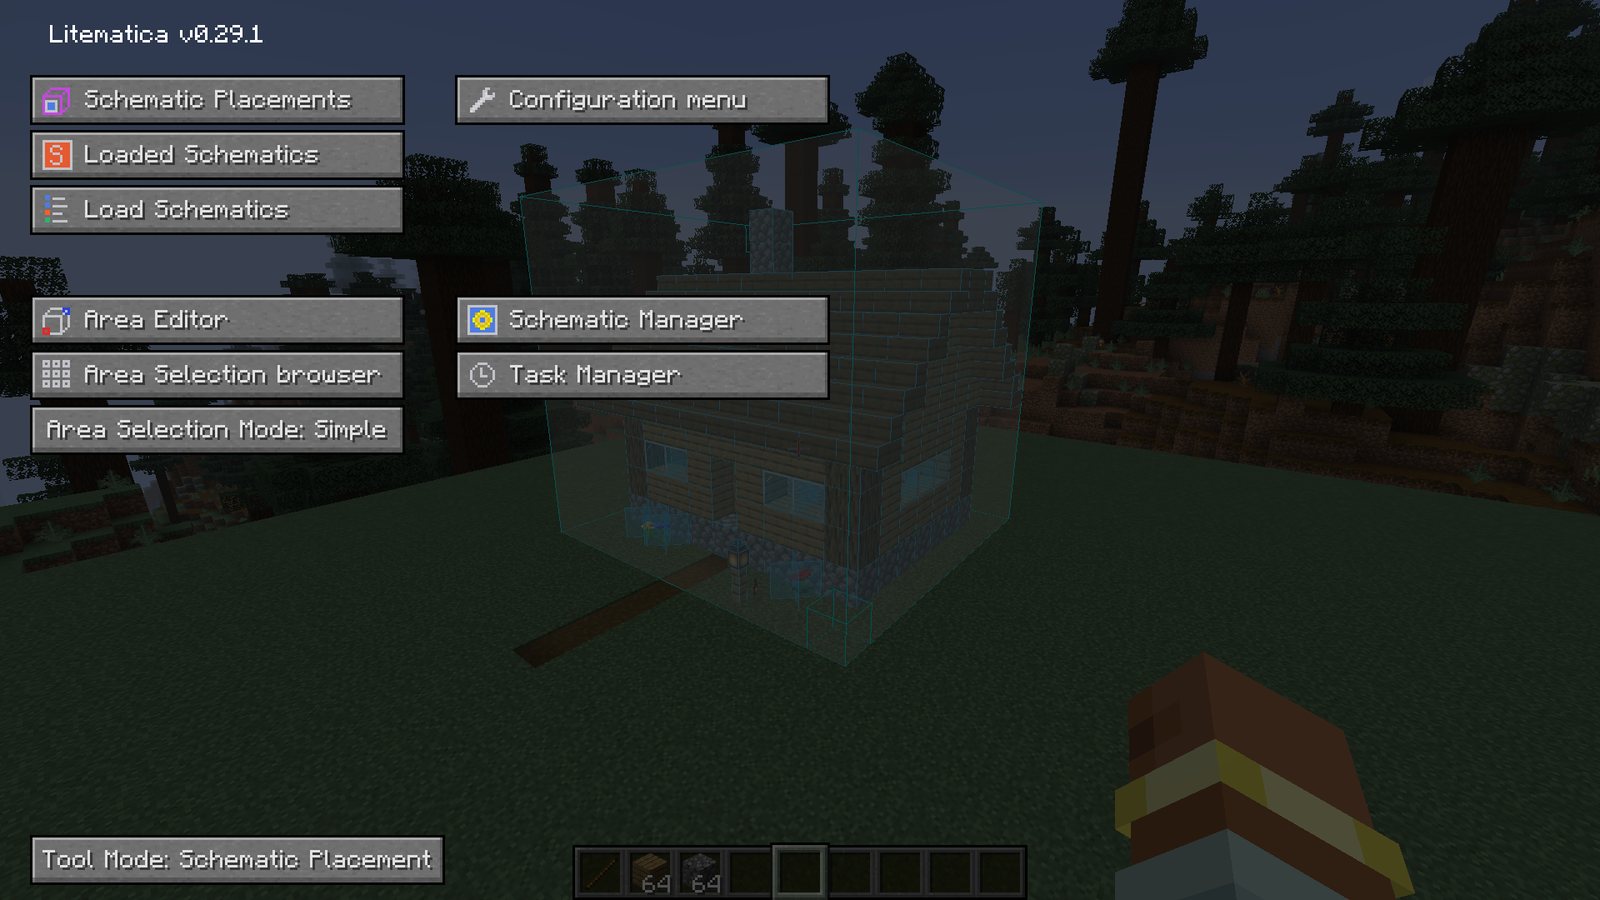
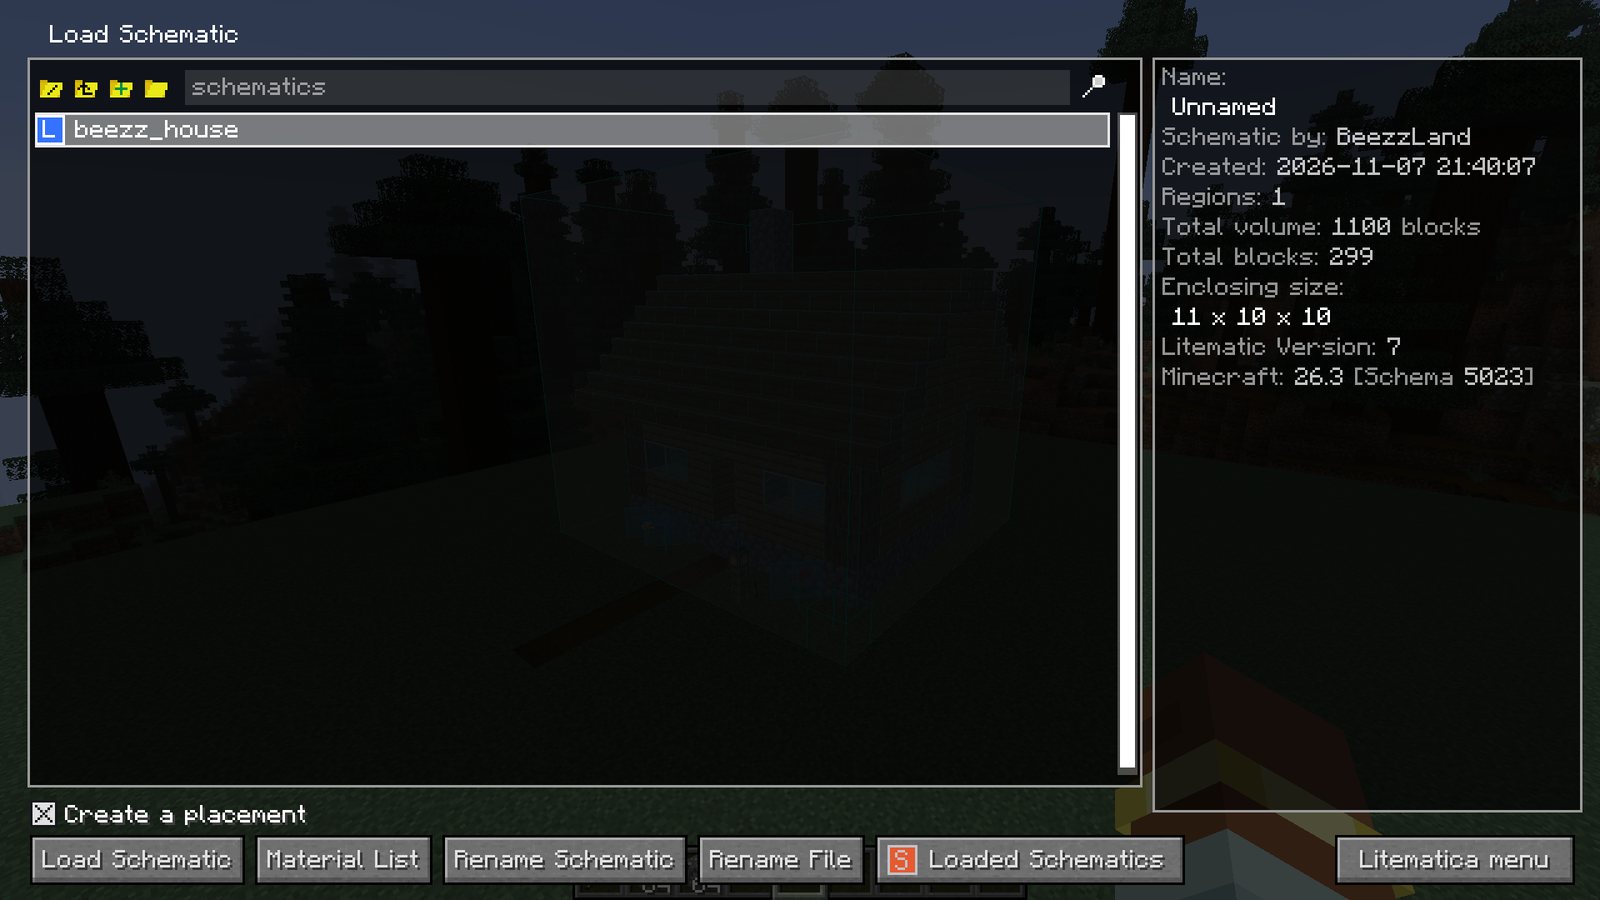
The hologram appears at your feet. Its blocks are see-through, and you can walk through them.
How to move and rotate it
Press M + P to open Schematic Placements, then click Configure next to yours. Here you change the position, rotate by 90°, 180° or 270°, and mirror the build. The Locked button in the placements list stops you from moving it by accident.
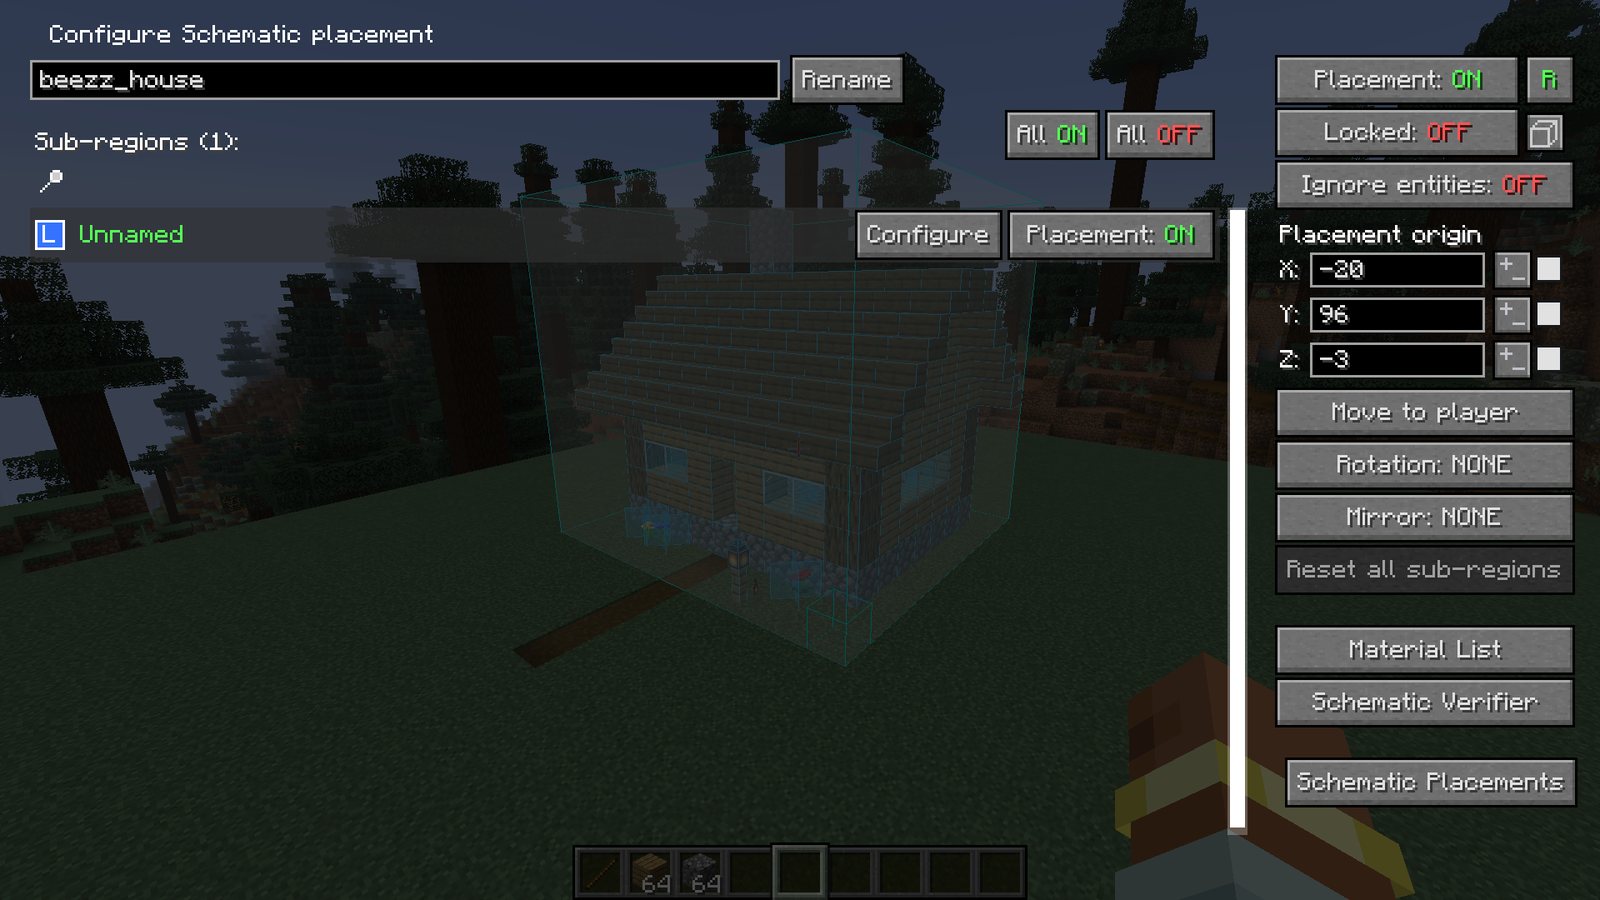
A simple way to line it up: stand on the corner where the build should start, load the schematic, then nudge it a block or two in the settings.
How to build layer by layer
With the whole build showing, the outer blocks hide the inner ones. Litematica can show just one layer instead:
- M + Page Up and M + Page Down switch the layer mode;
- Page Up and Page Down move the layer up and down.
The modes:
| Mode | What you see |
|---|---|
| All | The whole build, the default |
| Single Layer | Only the chosen layer |
| All below | The chosen layer and everything under it |
| All above | The chosen layer and everything over it |
| Layer Range | Layers from one height to another |
Start in Single Layer at floor level and step up one layer each time you finish the current one.
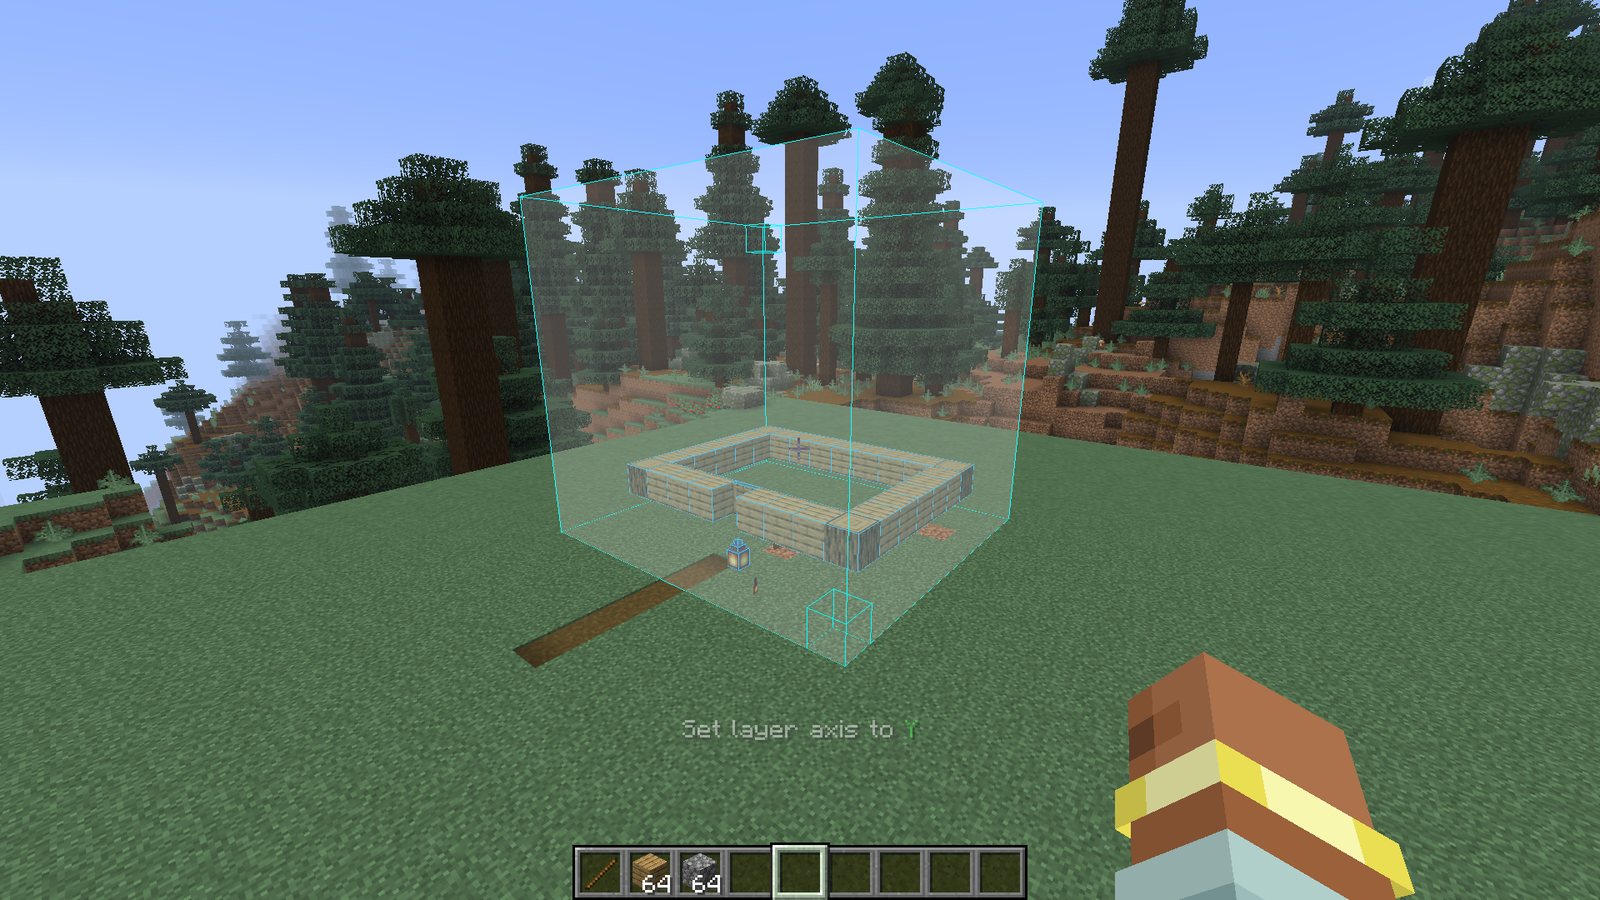
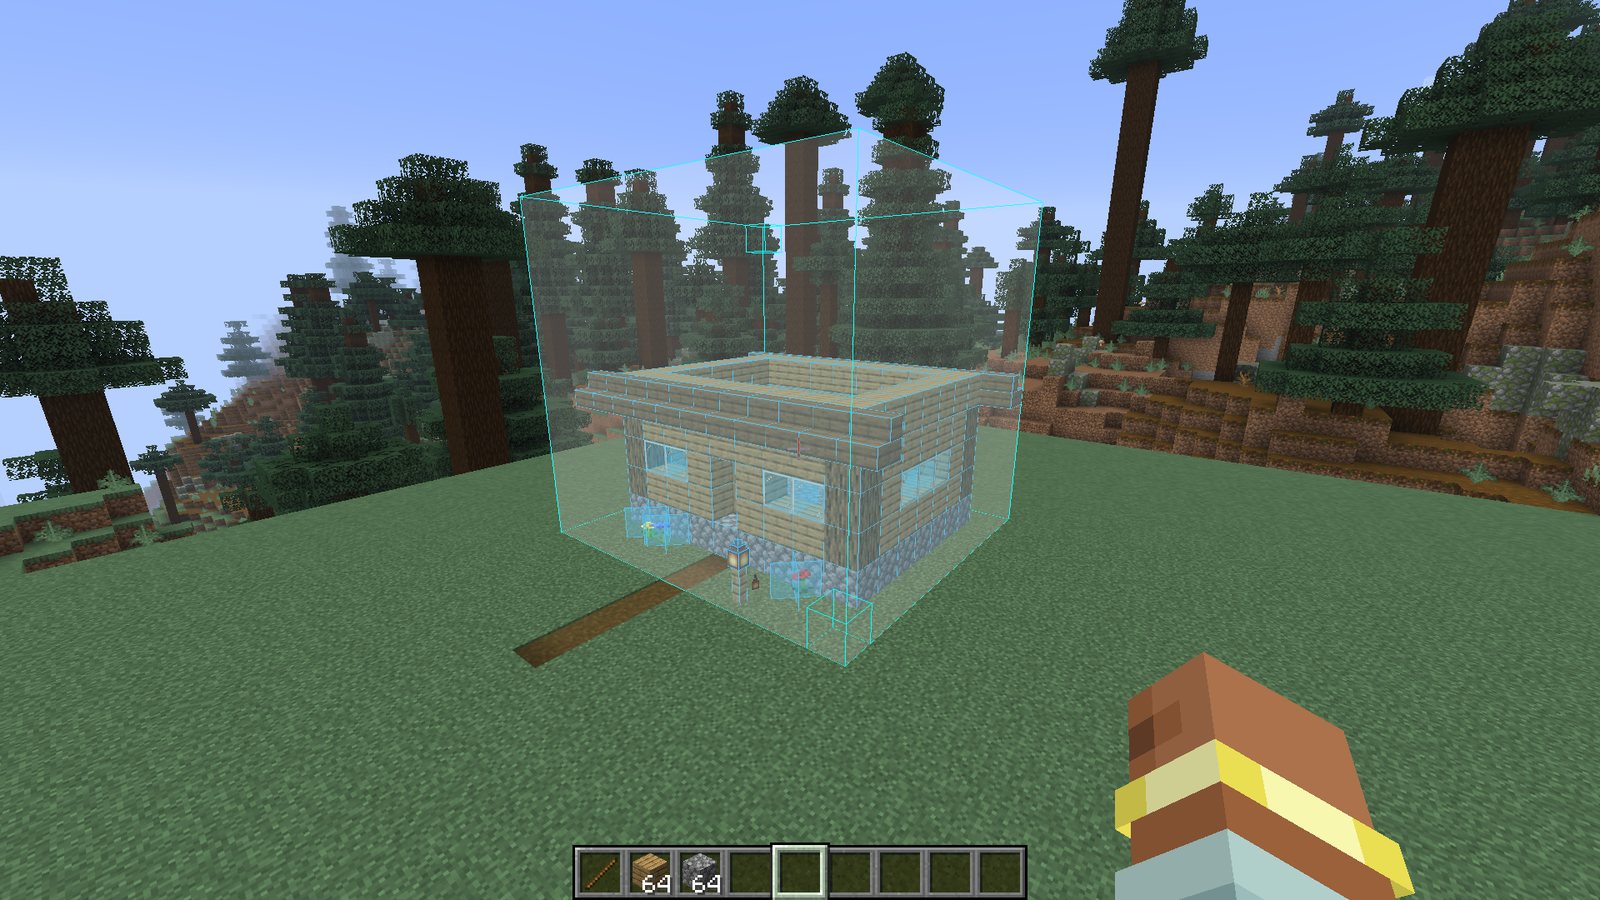
All below is handy when you want to see what you have built plus the next row:
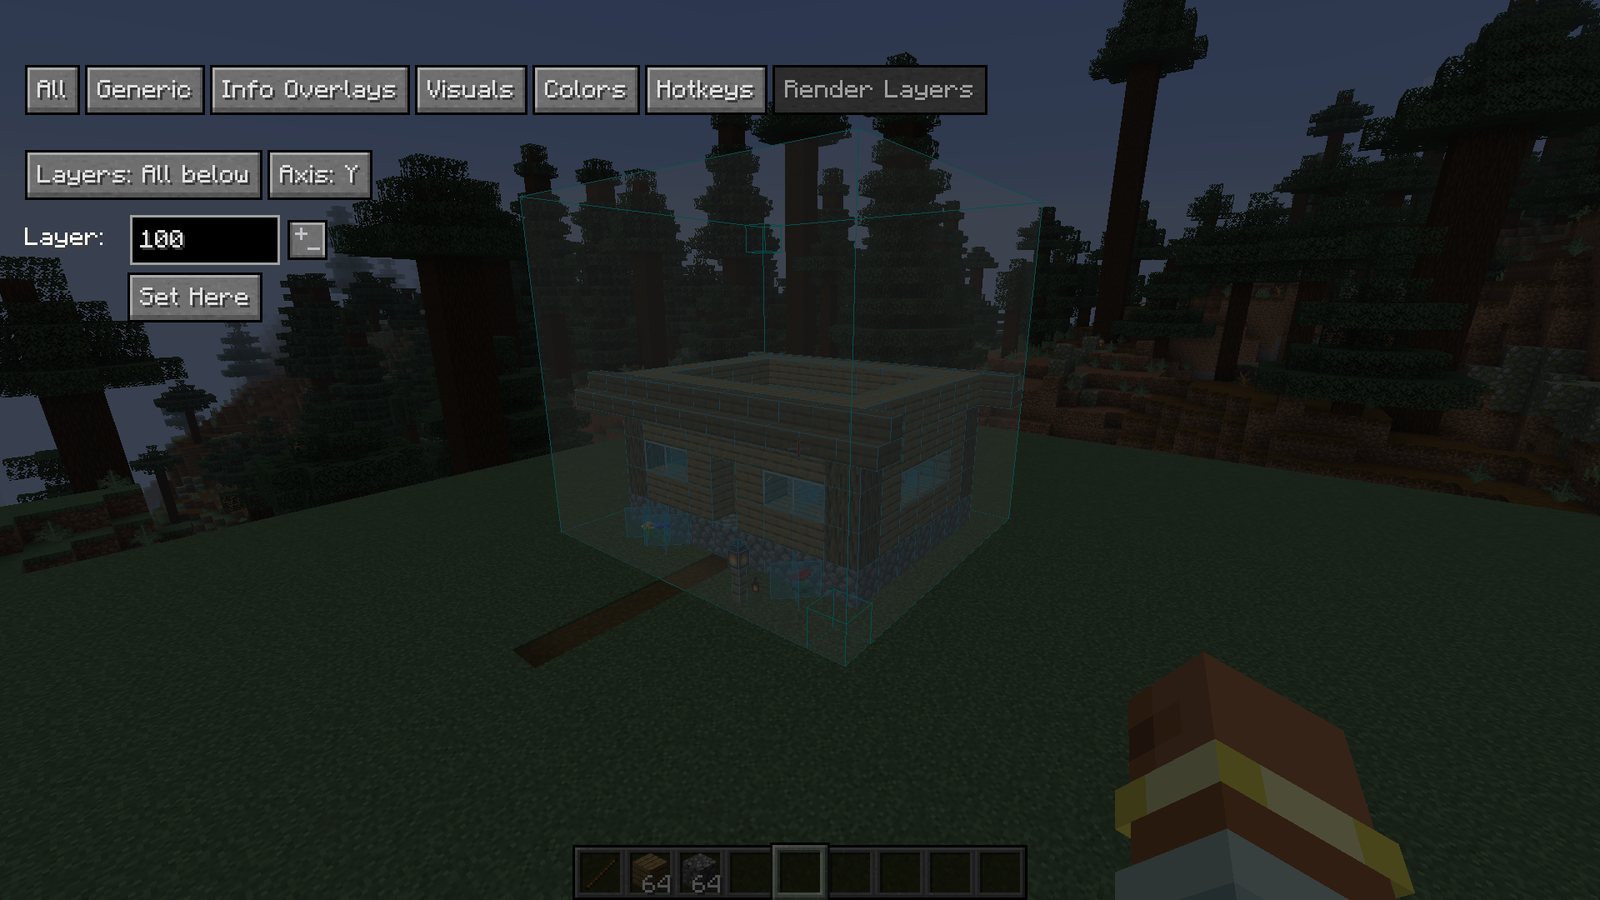
The same settings are in the menu: M + C, the Render Layers tab. You can also change the axis there. Layers go by height by default, but you can slice a long wall along X or Z.
How Litematica shows mistakes
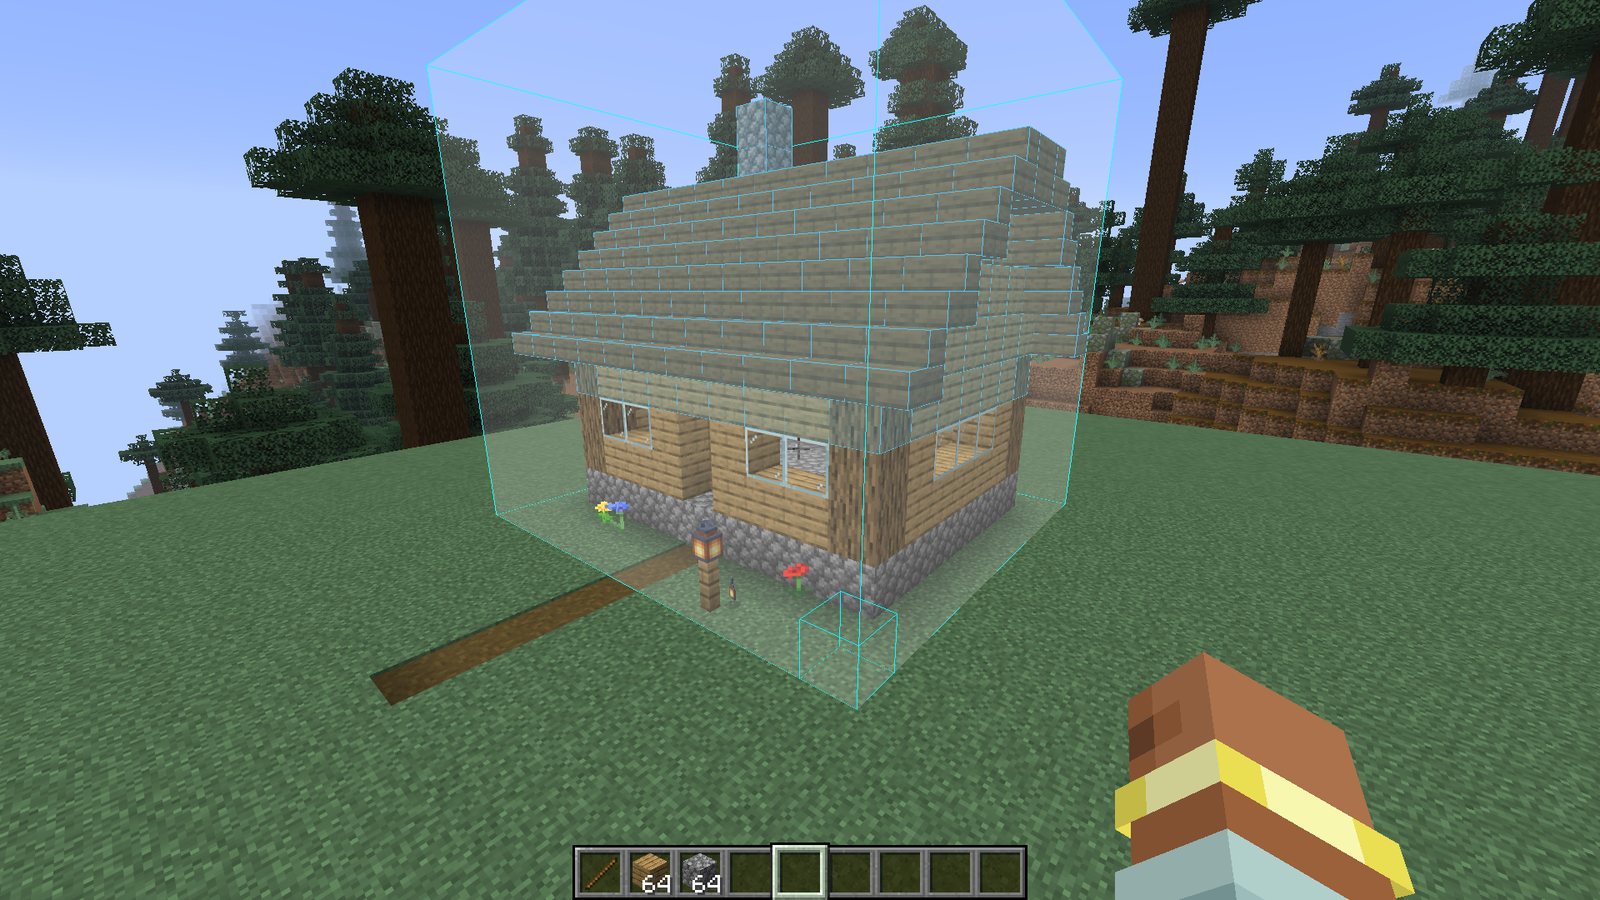
While you build, the hologram marks what differs from the schematic:
- a block you have not placed yet stays see-through;
- a wrong block, or a right block facing the wrong way, is highlighted in colour;
- an extra block that is not in the schematic is highlighted too.
The material list
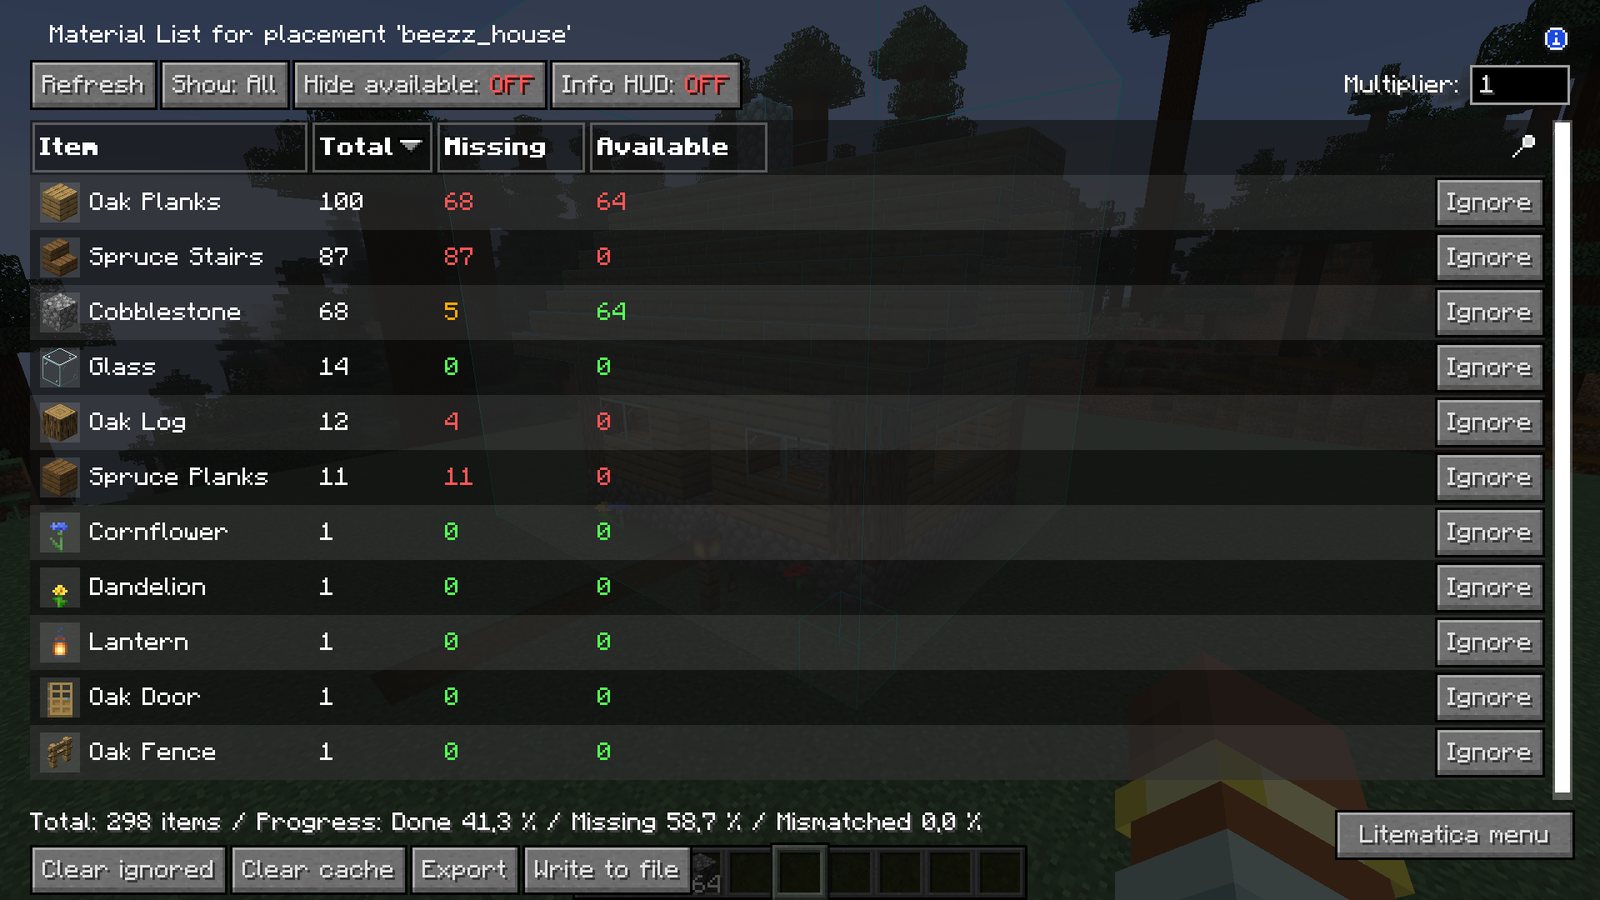
Press M + L to open the material list of the selected placement. The columns:
- Total: how many of each block the whole build needs;
- Missing: how many are not placed yet;
- Available: how many you already carry.
Useful buttons:
- Hide available hides what you already have, so you get a shopping list;
- Info HUD shows the list in a corner of the screen while you play;
- Write to file saves the list as a text file.
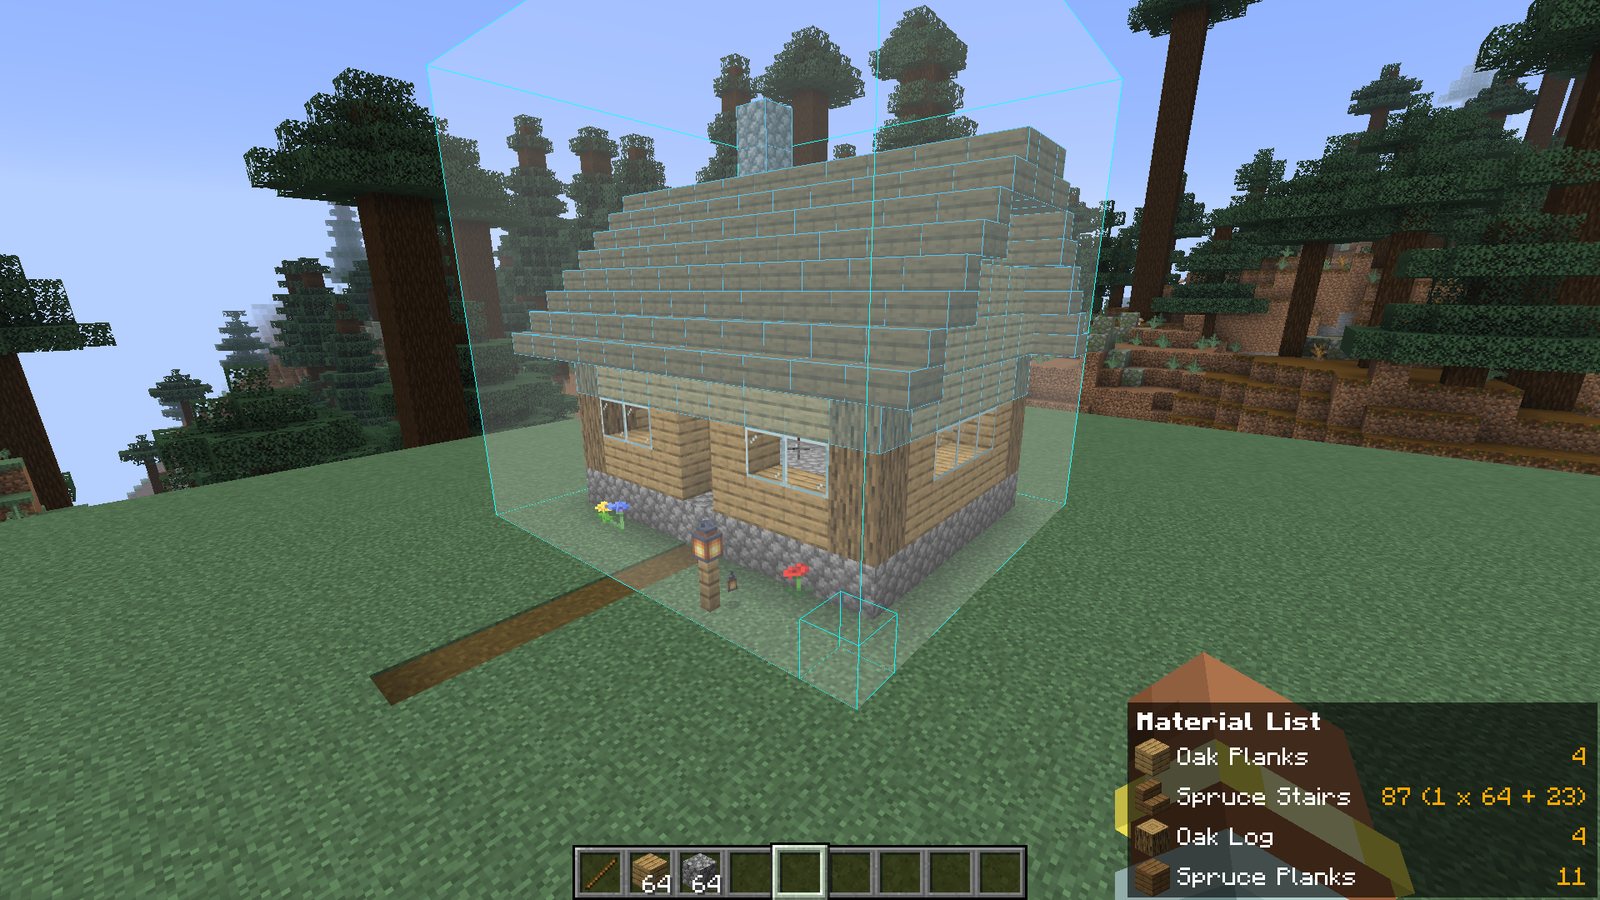
If the list is empty, no placement is selected. Select one in Schematic Placements (M + P) and open the list again.
How to save your own build as a schematic
The Litematica tool is a plain stick by default.
- Hold the stick. The tool mode shows in the bottom left corner. You need Area Selection; if another mode is on, hold Ctrl and scroll the mouse wheel.
- Left-click one corner of your build and right-click the opposite corner. A selection box appears.
- Press Ctrl + Alt + S, type a name and save.
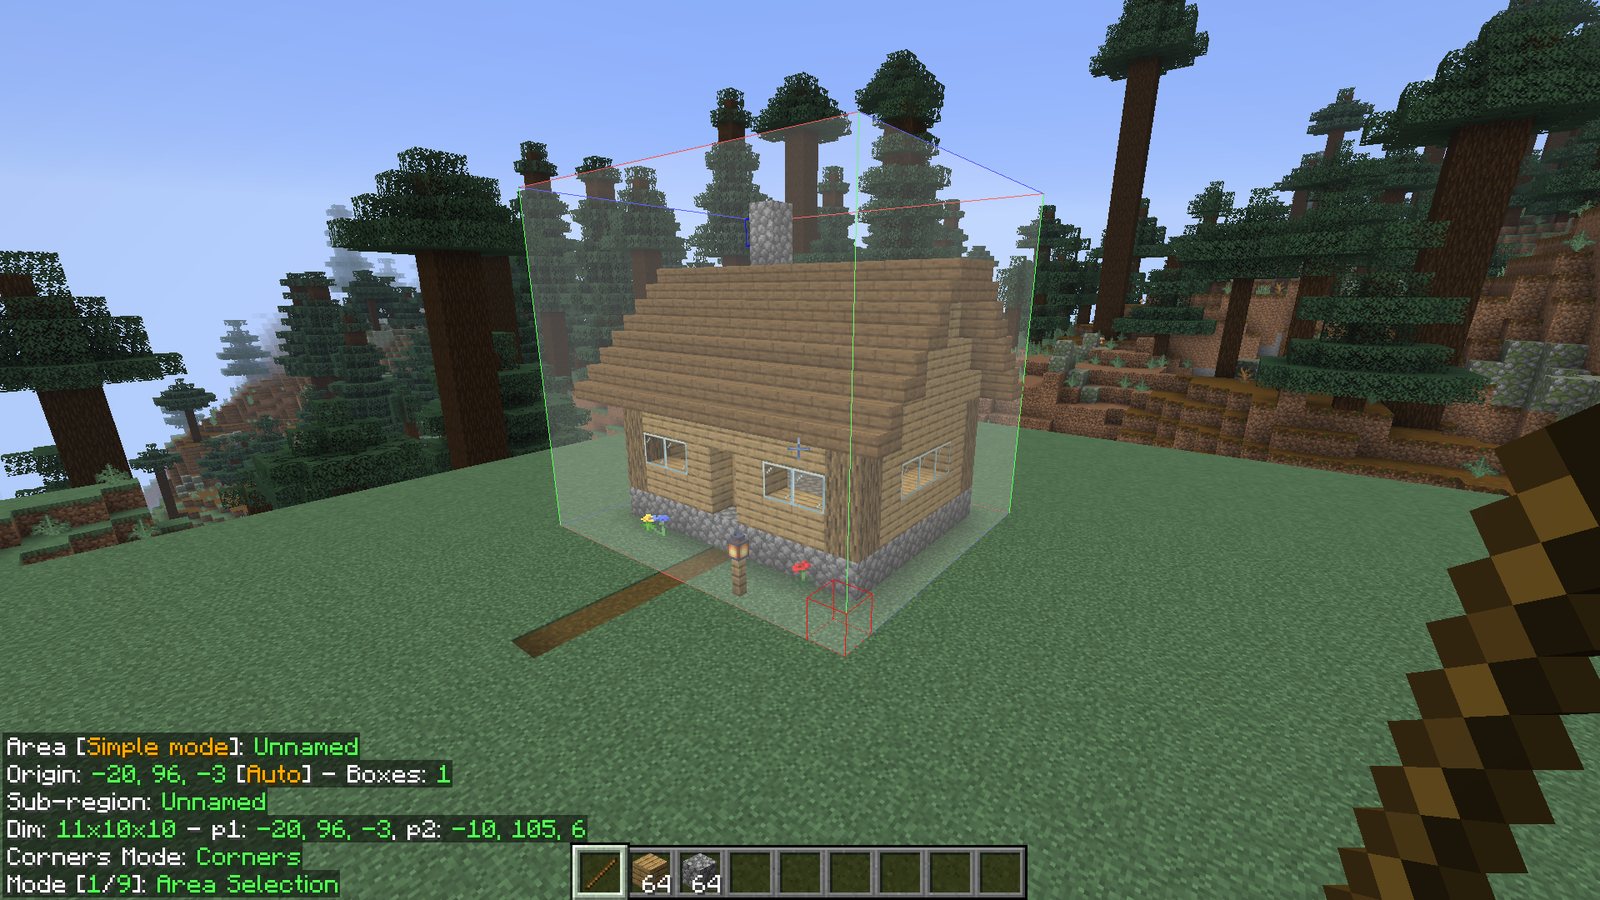
The .litematic file lands in your schematics folder, ready to share.
How to paste a schematic
In a single player world in Creative mode you can turn the hologram into real blocks at once:
- Hold the stick and pick the Paste Schematic in world mode with Ctrl + mouse wheel.
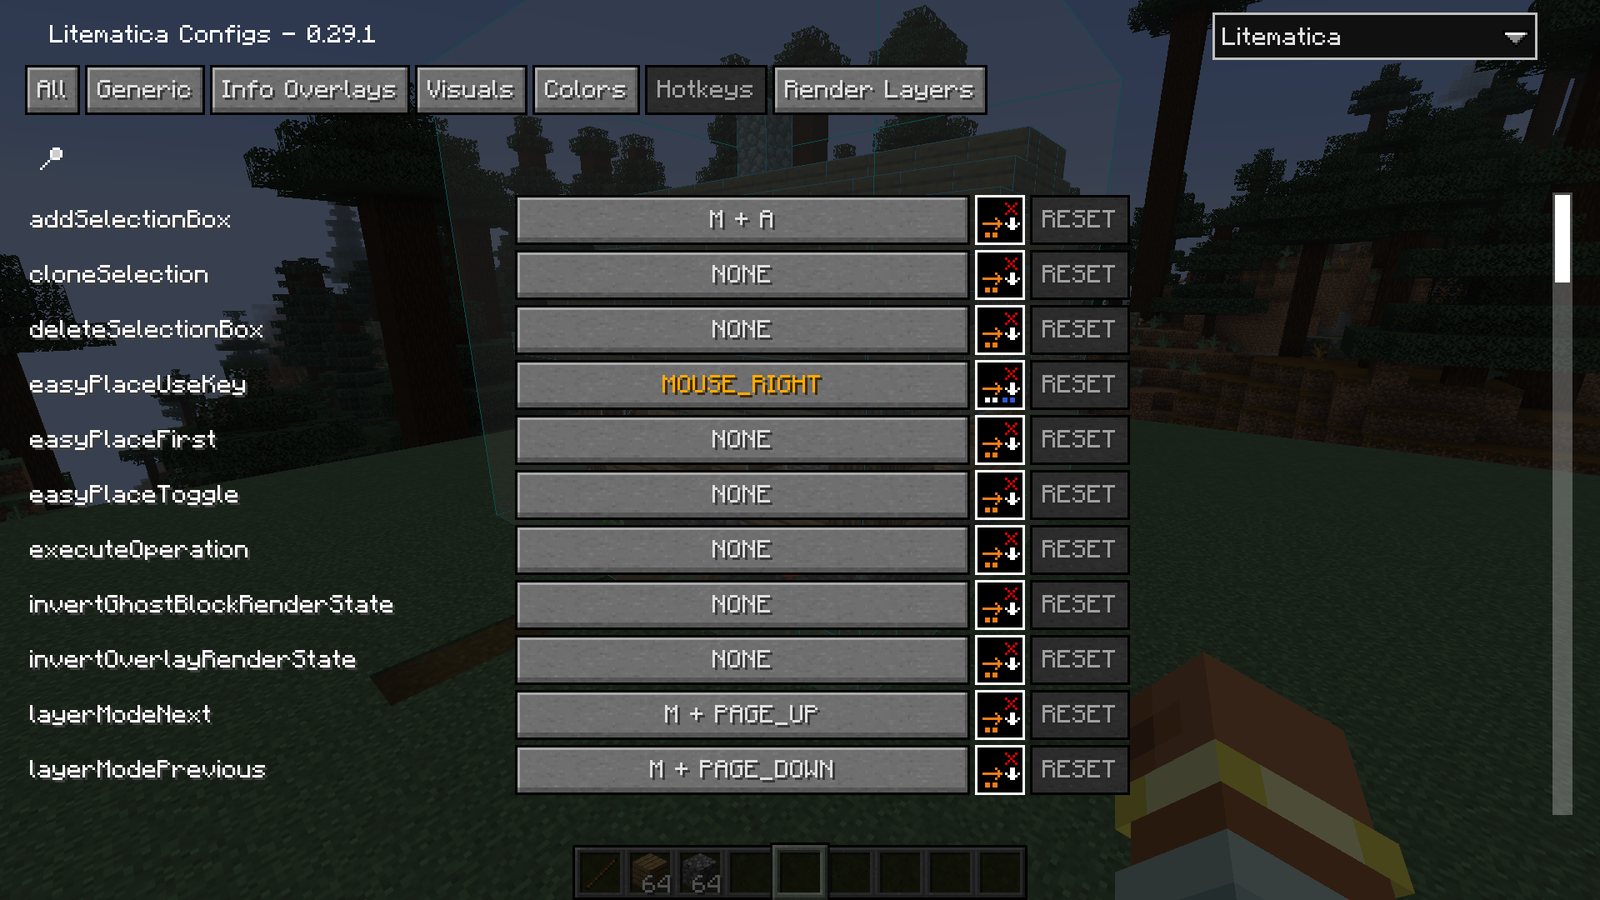
- In the Hotkeys tab (M + C), give the executeOperation action a key: it has none by default.
- Press that key. The selected placement becomes a real build.
On a server, pasting only works for players allowed to run commands: the mod places blocks with /setblock and /fill. On a survival server you build by hand.
Easy Place: placing blocks exactly as in the schematic
With Easy Place on, a right click on a hologram block places the real block in that spot, facing the right way. You need the right block in your hand.
Turn it on in M + C, the Generic tab, easyPlaceMode. The list is long, so click the magnifier and type easyPlace to see only the Easy Place options. It has no hotkey by default; you can set one in the Hotkeys tab.
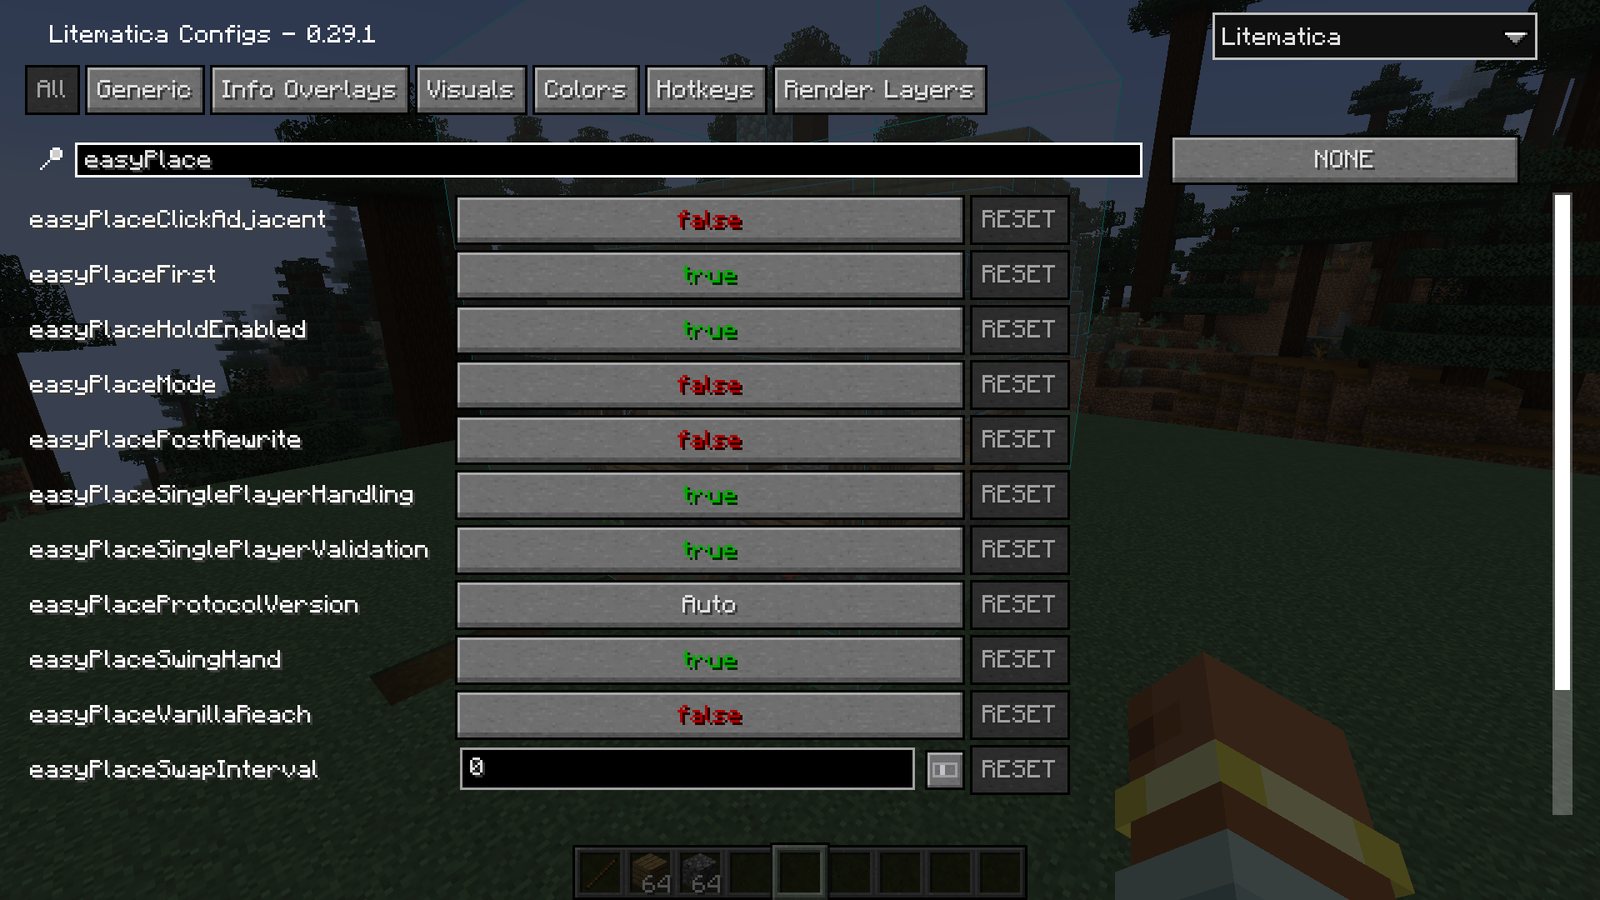
Another time saver: a middle click on a hologram block puts that block in your hand, if it is in your inventory.
Litematica Easy Place not working on a server
- The server does not support it. In multiplayer Litematica falls back to a simpler method that gets slabs right but may turn stairs and logs the wrong way. Full accuracy needs a server with Carpet or Servux.
- Anti-cheat. Easy Place places blocks faster and differently from a normal player, and anti-cheat plugins may kick you for it. Check the server rules first.
- It is simply off. After a restart, check the option in the Generic tab.
Common problems
The hologram disappeared. You probably turned rendering off. M + R toggles all Litematica rendering, M + G only the schematic.
Page Up does nothing. Switch to Single Layer with M + Page Up first. In All mode there is no layer to move.
The hologram is in the wrong place. Open M + P → Configure and fix the position, or remove it and load the schematic again from the right spot.
The schematic is not in the list. Make sure the file is in the schematics folder of the instance you actually launch, not another copy of the game.
The game does not start. Litematica, MaLiLib and Minecraft versions must match, see the table above.
All Litematica hotkeys
| Keys | What they do |
|---|---|
| M | Main menu |
| M + C | Settings |
| M + P | Schematic Placements |
| M + L | Material list |
| M + Page Up / Page Down | Change the layer mode |
| Page Up / Page Down | Layer up or down |
| M + R | Toggle all rendering |
| M + G | Toggle the schematic |
| Ctrl + Alt + S | Save the selection to a file |
| Ctrl + mouse wheel (holding the stick) | Change the tool mode |
| Middle click | Pick the block from the hologram |
You can change every key in M + C, the Hotkeys tab.
BeezzLand: vanilla survival
A Russian-speaking survival server for Java and Bedrock, versions 1.21 to 26.3.
play.beezzland.comHow to join